Silver can become tarnished over time or with exposure to air or moisture. When I picked up some deeply tarnished silverware that I wanted to restore, I began with a traditional method—liquid polish cream, a soft cloth, and elbow grease. After spending about an hour trying to a polish a single fork (with no luck), I began searching for a simpler way.
What I found was a DIY cleaning hack that brings tarnished silver back to life, no scrubbing or polishing required. Here's the method I tried, and how it went.
Jacob Fox
First, Determine the Silverware's Value
Restoring silver is not without controversy. Some people say it’s more valuable if left as is (tarnish and all), while others disagree. If you think your silver might have value, talk to a pro before you start.
Before you start, hold a magnet to your silver. A silver-plated item will be magnetic, while sterling silver is not. The value of silver-plated items is more about its age, maker and design, rather than its silver content. They are made from a base mix of metals and coated with a thin layer of silver, and they can also be tricky to clean.
Sterling silver will usually be marked with the word “sterling” or “925,” which refers to the silver composition. Sterling is made from 92.5 percent silver and is more valuable than silver-plate based solely on the value of the metal.
As for me, my silverware was silver-plated, and held no sentimental value. Many were so far gone that I was willing to risk it.
Related
Kathy Barnes
How It Works
This method is fairly easy. The technique creates a chemical reaction that transfers the tarnish to the aluminum foil, and it’s safe for most silver-plated items. Because you're releasing sulfur from the silver, it helps to have decent ventilation. (Head's up: the smell is unpleasant.) Here's what I did:
Line a Container
I used a 9x13 glass baking pan and lined it with aluminum foil, shiny side up. The foil is the secret ingredient.
Add Salt and Soda
Use equal parts of table salt and baking soda—about a cup of each for every gallon of water—and place this mix on the foil. I love that this method requires only common household pantry items.
Boil Water
I boiled water in my electric tea kettle. Once it was ready, I carefully poured it into the container, over the silver, baking soda, and salt. You want the silver to be submerged in liquid and to touch the foil so it's not helpful to overfill the pan. I cleaned in several smaller batches to tackle my project.
Take a minute or two—that's all it takes—and enjoy the bubbly fizz of this chemical reaction. You'll start to smell the sulfur release during the process.
Kathy Barnes
Rinse and Dry the Silver
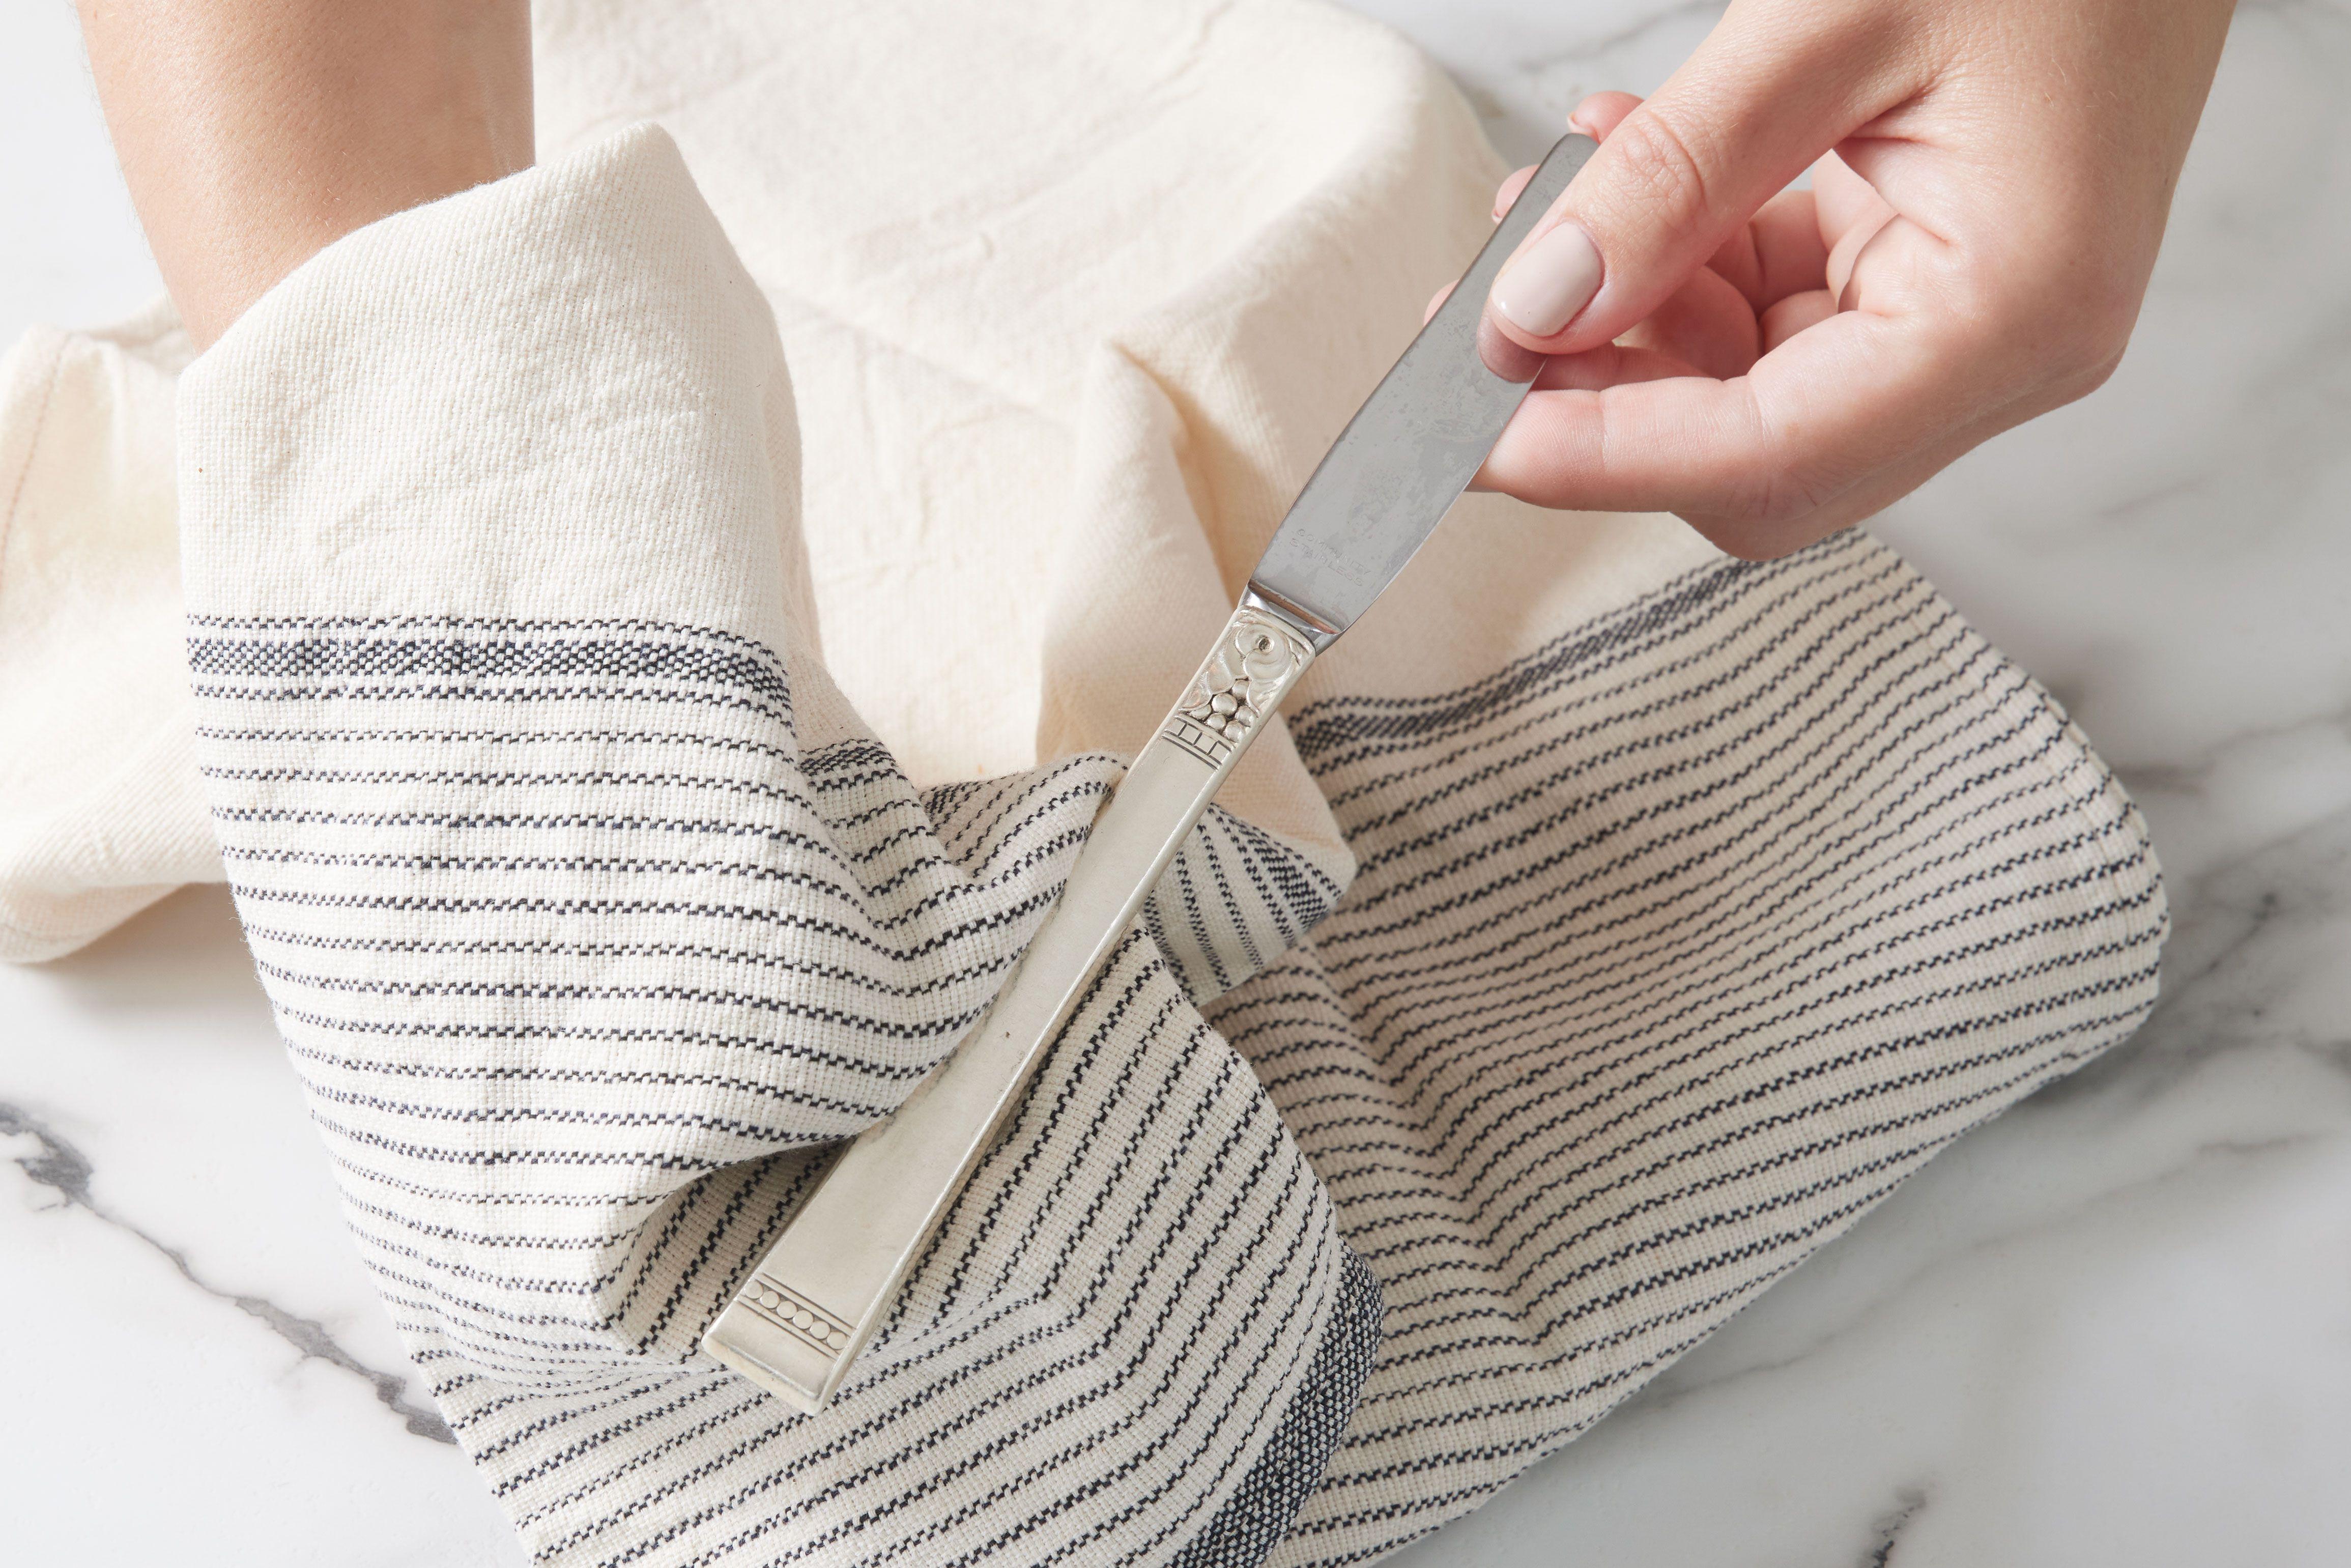
I used my kitchen tongs to remove the silver from the pan and rinsed each piece in clean water to remove any extra salt and soda. Using an old kitchen towel, I dried each piece of silverware. The rubbing motion was enough to remove any remaining tarnish. You'll want to use a towel or rag that you won't need again.
Store Silver Smarter
Store your silver items in a drawer lined with tarnish-proof fabric or silver cloth where they will be free from moisture, including humidity. A dedicated silver box that's lined works well.


