


Yaroslav Astakhov/Shutterstock
This story might sound familiar to some of you reading: You see some great-looking sourdough loaves on Instagram, you skim through an article or two about making a starter, and you think, how hard can it be? Fast forward a few weeks until you've wrangled a starter into existence; you pull a freshly baked loaf out of the oven, cut it open, and it's totally dense and practically inedible. This experience may have left you wondering how to bake sourdough.
I'm a keen baker who has produced many beautiful loaves of sourdough — and a few duds along the way — but I wanted to hear straight from the sourdough experts who do this day in, day out. Kate Freebairn is the founder of The Pantry Mama and author of "Easy Sourdough," and has spent years teaching home bakers how to make sourdough from scratch. Erik Fabian is the co-founder of Sourhouse, a company that produces carefully designed tools for home bakers. Anja Eckert is a blogger and recipe developer at Our Gabled Home, who has been teaching her German family's generations-old sourdough method for eight years. Doug Anderson is head baker of Leven, which bakes many types of naturally leavened bread in-house.
Thanks to their combined experience and helpful insights, you're about to get expert advice on how to bake better sourdough. And, if you're feeling overwhelmed, Fabian has some words of encouragement. "Even your most mediocre sourdough loaves are going to be way better than most of what is available at the grocery store," he says. "So just get started, bake, share your bread, and eat your mistakes."
Take good care of your sourdough starter
Alinakho/Getty Images
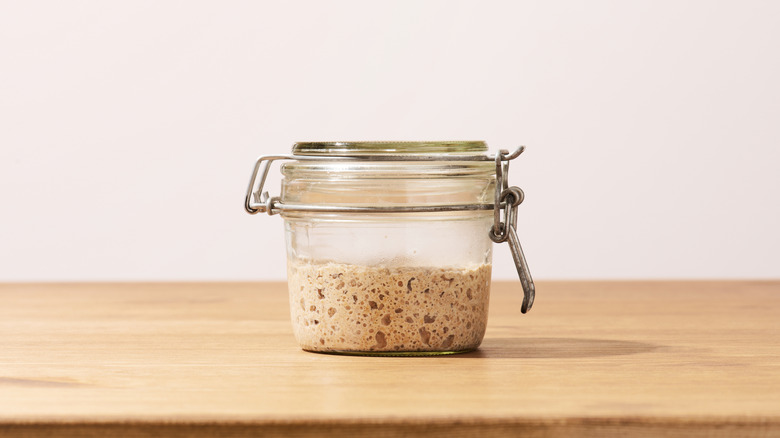
If you want to make good sourdough bread, you have to take care of your starter. This is what makes your bread rise, so without it, you have a dense brick of a loaf. You might think that if your starter is alive, it's good enough to bake with, but it's more complicated.
The Pantry Mama's Kate Freebairn emphasizes how important the strength of your starter is. "Your starter jar is literally the home of the wild yeast needed to make your dough rise, so it's basically the foundation of your sourdough," she says. "The more, stronger yeast you have, the better sourdough you'll end up with."
To make a sourdough starter, you only need flour and water, but there's more nuance to keeping it healthy. "Using a tired, under-fed starter or one straight out of the fridge will give you a different result than a recently fed starter at its peak," explains Erik Fabian of Sourhouse. According to Freebairn, to improve your starter's health, "you should try to feed your starter consistently, keeping it somewhere warm and stirring it really well when you first feed it to ensure your yeast get plenty of oxygen to help them proliferate."
Doug Anderson of Leven also talks about how important it is to get the feeding ratios for sourdough starter correct. "If you are feeding your starter in a 1:1:1 ratio, that is, equal amounts of starter, flour, and water, chances are, it's building up too much acid," he says. To keep your starter more fresh and balanced, he recommends swapping to a 1:5:5 ratio.
Learn about hydration for baking sourdough
Alvarez/Getty Images
If you've read a lot of sourdough recipes or spent some time on Instagram or TikTok trying to learn about baking, you've probably heard the term hydration, but do you know what it means? It can be confusing for novice bakers who are used to simply following a recipe. Once you know about hydration, however, you can easily scale up or down depending on your needs, which is why it's sometimes known as a baker's percentage.
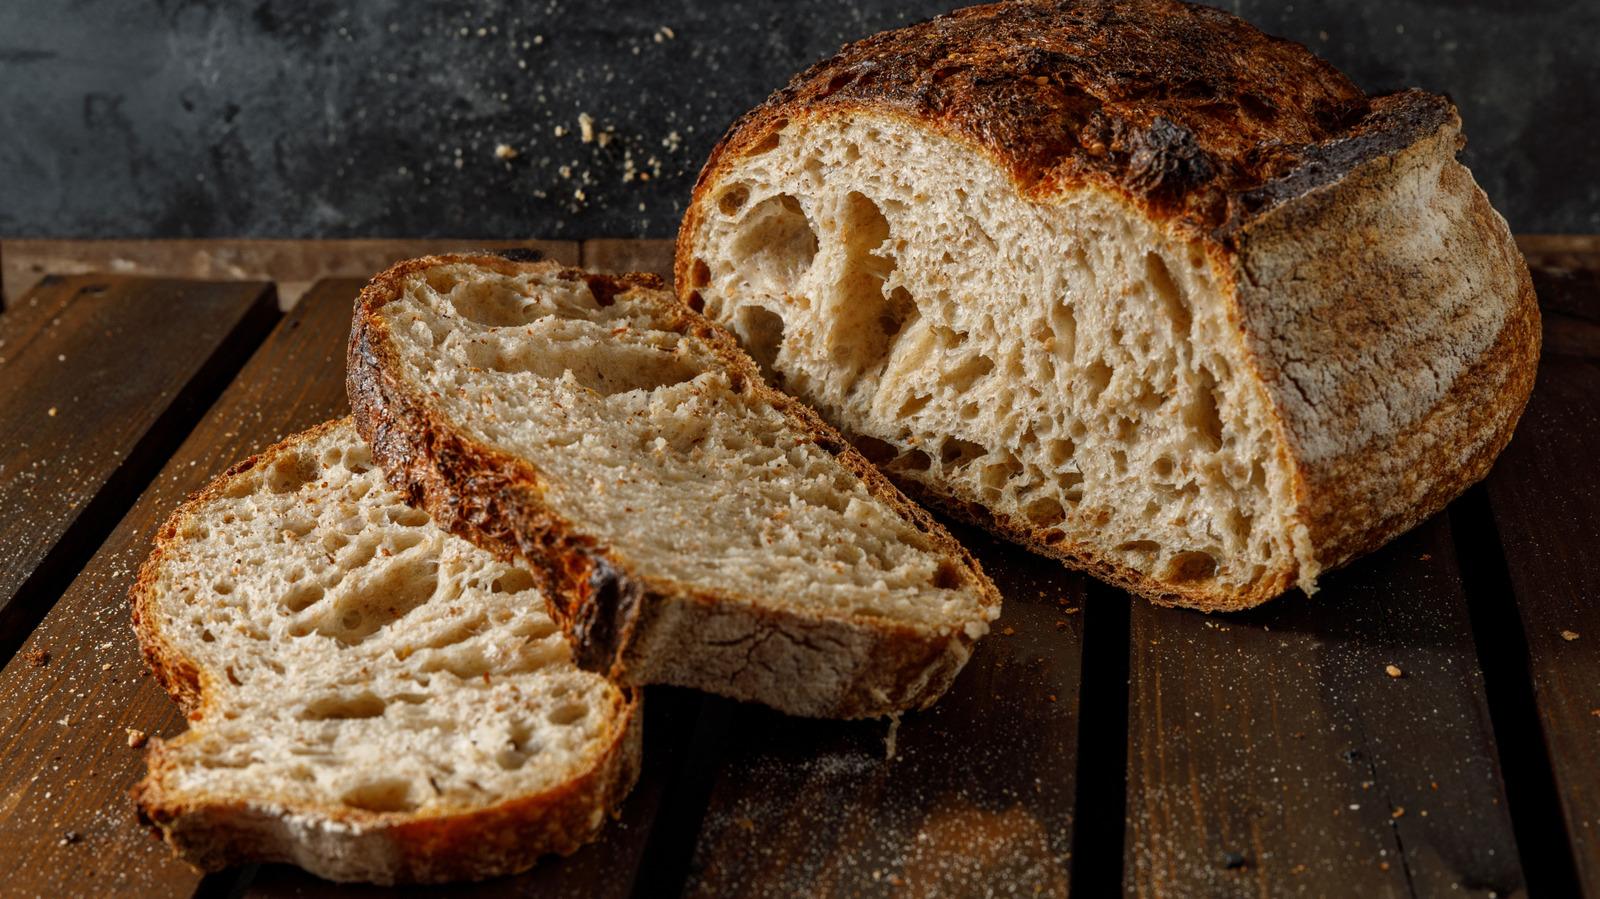
"Hydration is how much liquid in a dough, expressed as a percentage of the total amount of flour in the dough," Erik Fabian explains. "So a dough with 1,000g of flour with 700g of water is a 70% hydration dough." According to Doug Anderson, "lower hydration doughs in the range of 55-65% water result in a tighter crumb and a dough that is denser," while higher hydration doughs "will have looser dough and a more open, airy crumb."
Getting the hydration too low can result in a tight crumb, but there's more to it. "Different styles of dough have different hydration needs as well," Fabian notes. "A bagel or a pan loaf typically has a lower hydration because you want a tighter crumb, while your classic Tartine style breads and styles like ciabatta use a higher hydration because they are associated with more open crumb." Higher hydration doughs are harder to handle, which can be trickier for new bakers. Fabian recommends sticking with 70-75% hydration recipes when you're new to sourdough.
Weigh your ingredients
Pokrip Tania/Shutterstock
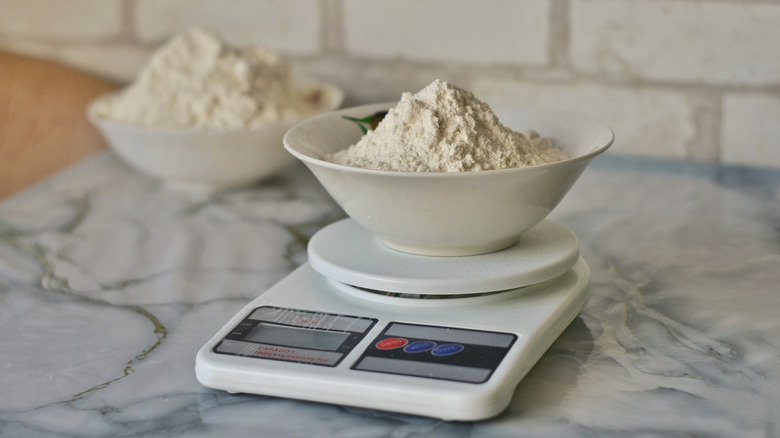
We know how tempting it is to grab your trusty measuring cup, but the reason you should weigh your baking ingredients is because scales are just more accurate. Weighing both flour and water will give you much more precise results, and in bread baking, a difference of just 40 or 50 grams can have a huge impact on the outcome.
"If you haven't already, start weighing your ingredients and use metric measurements," advises Doug Anderson. "For accuracy and speed, it can't be beat." He notes that when weighing over measuring, it's much easier to make incremental adjustments. This can be handy if you're experimenting with hydration over time to find what works for you, or if you're trying to slightly scale a recipe up or down.
The problem with using measuring cups is that you can easily use too much or too little flour depending on how you measure. For example, it makes a difference whether you scoop flour out of the bag or pour it into the cup and level it out. It might not seem like a big deal, but slight inaccuracies can ruin a loaf, especially when you're new to baking bread and are unsure what the consistency of your dough should be. So, it's worth splashing out on some kitchen scales.
Pay attention to the type of flour you use
New Africa/Shutterstock
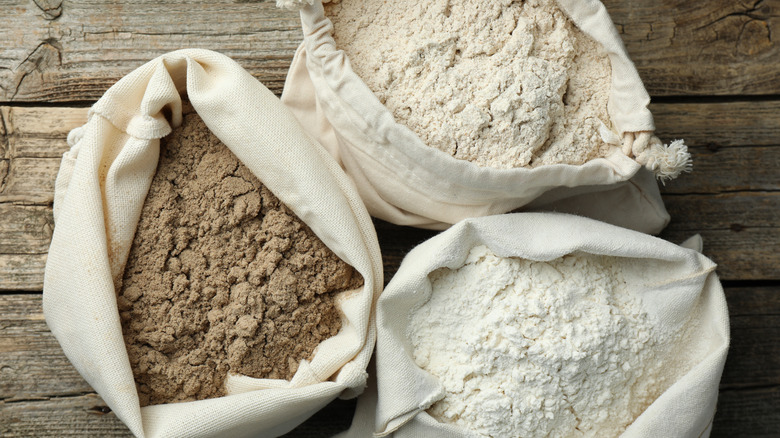
The type of flour you use for your bread matters. You might be tempted to use whatever you already have in the pantry, but all flours react differently because of their protein content or whether they're wholegrain or white. So, follow whatever's used in the recipe, which will usually be bread flour or a mix of bread and wholegrain flours.
"A good bread flour with higher protein gives you more structure and a better rise, while whole grain flours add flavor but soak up more water and can make your dough feel stiffer," explains Anja Eckert of Our Gabled Home. "Higher protein flour will give you a stronger gluten network and more elastic dough, making it easier to shape with lots of surface tension," Kate Freebairn adds.
All-purpose flour will give you a denser loaf because it doesn't have the protein content necessary to build up a strong network of gluten that traps air bubbles during the fermentation process. Meanwhile, Erik Fabian notes that whole wheat and rye flours absorb more water, ferment faster, and have a more complex flavor compared to white flour, but don't produce as tall loaves.
Try an autolyse or fermentolyse to build structure in your sourdough
Snide12/Shutterstock
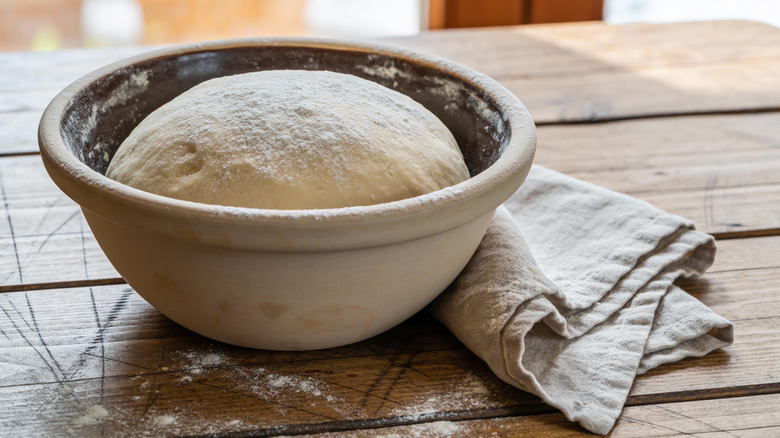
It seems to make sense to mix your dough and then start stretching or kneading it right away. But, a couple of techniques can help develop gluten and build structure right from the start. An autolyse or a fermentolyse can give you a better loaf with minimal effort.
"Autolyse refers to mixing the flour and water together and allowing it to rest and hydrate before you add the sourdough starter and salt," explains Kate Freebairn. Hydrating the flour makes the dough smoother, less sticky, and easier to handle and shape. The resting time means the gluten has a chance to start forming on its own, so you spend less time kneading or stretching and the enzymes get to work sooner. Having time to rest also makes the dough more extensible and easier to stretch, since the gluten has a chance to relax.
Fermentolyse is when you add the water, flour, and starter and leave it to rest. Some people believe there's no real advantage to leaving the starter out, unless you want to do a particularly long rest period and you need to avoid overproofing. "I actually use a fermentolyse with salt," Freebairn tells us, noting that she leaves the dough to rest for around an hour. "The only time I would recommend an autolyse over a fermentolyse is if you're using a heavy whole grain flour or freshly milled flour," she says.
Use stretch-and-folds and coil folds to develop gluten
Zagorulko Inka/Shutterstock
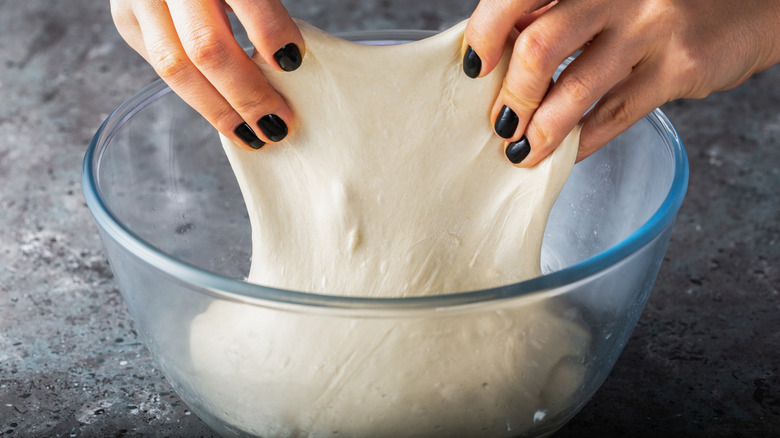
Most bread recipes made with commercial yeast are kneaded after mixing, but modern sourdough recipes generally call for stretch-and-folds, coil folds, or both to build gluten instead of kneading. Since sourdough bread doughs are usually fairly wet compared to a commercially yeasted sandwich loaf, for instance, many people find it easier to do folds over attempting to knead an unwieldy mass. It may also encourage a more open crumb in the finished loaf.
"Stretch-and-folds, or coil folds, work when you want a more open crumb and a crusty exterior," Doug Anderson notes. "They are meant to keep the little gas pockets, called alveoli, intact and growing, while at the same time improving gluten strength and redistributing yeast so it can continue to eat the starch and produce carbon dioxide," he adds.
"Stretch-and-folds build dough strength gently over time, right in the bowl," says Anja Eckert. "Coil folds do the same job but are even gentler on the dough, which I love for wetter or more delicate doughs." She notes that both methods develop the gluten you need for a good rise without the hassle of kneading.
I tend to opt for coil folds, since the method encourages long, organized gluten strands and degasses the dough less. Depending on the recipe and the ambient temperature, I perform these folds every 30 to 60 minutes.
Learn how to nail the bulk ferment for your sourdough
Aleksandr Medyna/Shutterstock
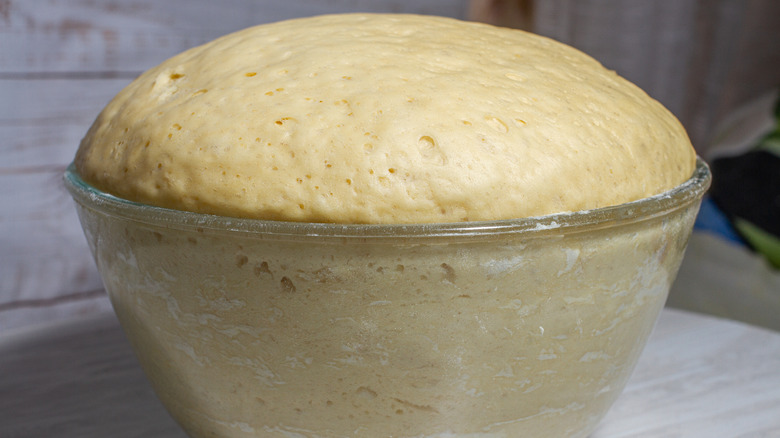
One of the areas where people often struggle is with the bulk ferment. This is the period where you leave the whole of your dough to rise, before later splitting it into pieces (if you're making more than one loaf) and shaping it. Sourdough needs significantly longer to rise than bread made with commercial yeast, but this can lead to people accidentally under- or over-proofing.
"I think everyone is so scared to over-ferment their loaves, they're under-fermenting them," says Kate Freebairn, noting that home bakers shouldn't be afraid to wait for the dough to double, however long that takes."Your dough should be jiggly, but not soupy," she says, adding that "it should feel like a big marshmallow when you tip it out of the bowl." It can be tough to tell whether or not you've got it right. "The more you work with the dough, the better you'll get at judging bulk fermentation," says Freebairn.
While it might seem like a bad time to turn your oven on full blast, summer is a great time to bake sourdough because the higher temperatures mean that the bulk ferment happens faster. In winter, I've left dough to proof for as long as 12 hours, whereas in summertime, the exact same recipe might take just three to four hours. "As you perform your coil folds or stretch-and-folds, you will feel the dough changing texture and getting full of gas," says Doug Anderson. "It should be tacky but not sticky," he adds, noting that when it begins to get sticky, it may be slightly overproofed but will still turn out okay.
Add any extra ingredients at the right time
Anakumka/Shutterstock
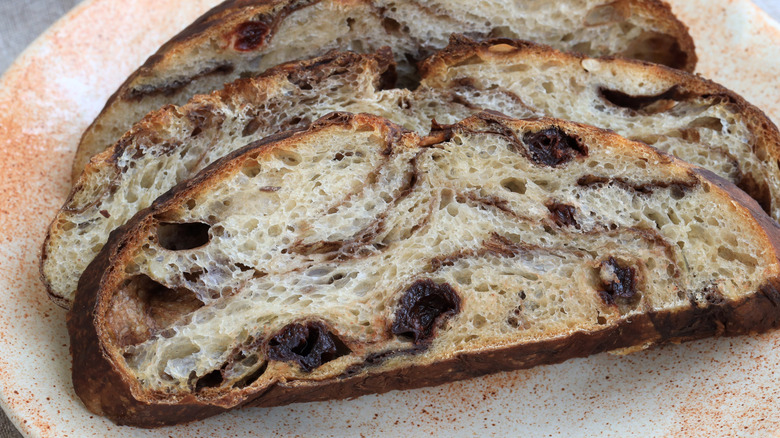
I love a plain, simple sourdough loaf, but some extras are nice to add to certain loaves. For instance, I make fruit bread with dried figs and apricots, and I often see cheddar and jalapeño sourdough loaves on Instagram. These additional ingredients are called inclusions, and you need to make sure to add them at the right time.
"Adding things like berries, dried fruit, and nuts can be done during stretch-and-folds," Kate Freebairn advises. She warns against adding ingredients with sharp edges too early because they can damage the gluten network and make it trickier to strengthen the dough. She also notes that cinnamon and garlic can slow fermentation and should be added later, when shaping the dough.
The way you add them matters, too. "Fold them in gently during one of your stretch-and-folds so they distribute evenly without tearing the dough," Anja Eckert suggests. Freebairn suggests keeping any inclusions to no more than 100 to 200 grams per loaf to avoid changing the structure.
Improve your sourdough shaping technique
Nastyaofly/Shutterstock
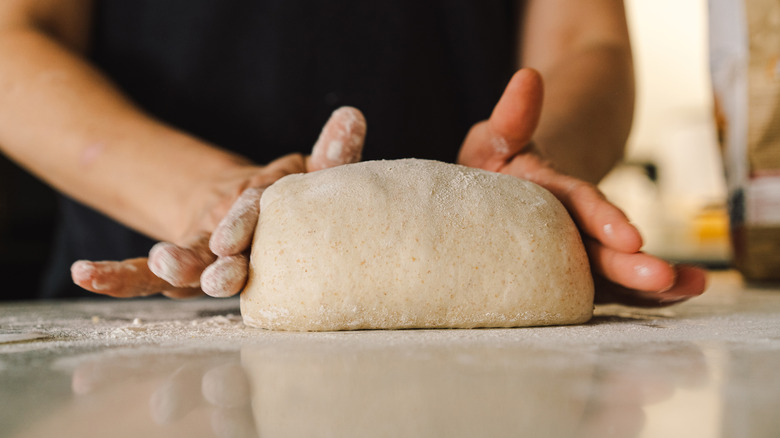
After the bulk ferment, it's time to shape your dough. You might not think this matters too much, especially when using a banneton or other bread former to hold the loaf's shape for its second rise, but how the bread is shaped can have a significant impact on how it turns out. It can be tricky at first, but it's a technique you develop over time.
"Shaping is really important, it's what creates the surface tension that holds in all those beautiful bubbles," says Kate Freebairn. Some people use flour to keep the dough from sticking while working with it, but Freebairn advises against this. "Shaping is all about creating surface tension, and when you flour the surface you're working on, it reduces the sticky surface area, which is what you need to tuck all the dough inside," she notes. If you're having trouble with the dough sticking to your hands, you may be better off wetting them very lightly than flouring your dough or the surface you're working on.
"With the right technique, you're building a tight skin on the outside while keeping the gas trapped on the inside, which makes the loaf fluffy," says Anja Eckert. But, the exact technique will depend on what kind of loaf you're creating, whether a boule, batard, baguette, pan loaf, or anything else. Look up shaping methods for the style you're hoping to achieve. The rest comes down to practice.
Score your sourdough loaf correctly
New Africa/Shutterstock
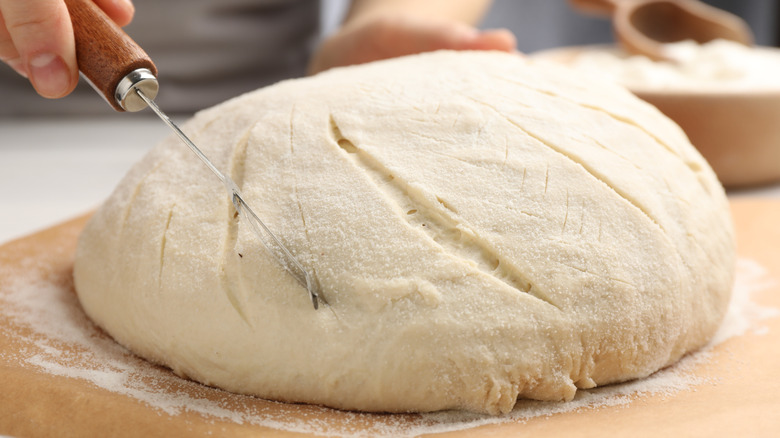
After shaping your loaf and, in most cases, popping it into a banneton or pan, it's usually left in the fridge overnight. This allows for a final proof at a lower temperature, developing more flavor. It also helps create a slight skin on the loaf so it will keep its shape when removed from the former if you're baking a freeform loaf. The skin provides a good surface for scoring, which isn't just for show; it plays an important role in allowing your bread to rise in the oven.
Scoring is important, according to Doug Anderson. "As heat penetrates the loaf, the loaf wants to expand; scoring shows it where to go," he remarks. "An unscored or poorly scored loaf will often burst out the side instead of at the intended place." Erik Fabian notes that it's vital to score your loaf well if you want good oven spring. When your loaf is unable to expand, it might eventually tear a gash somewhere on the surface, but it still won't rise nearly as much as it would have done with a proper score allowing it to grow to its full potential.
A bread lame is the best tool for scoring loaves, but if you're just starting out and don't want to spend money on equipment, a sharp knife will do the trick. Hold the tip to your loaf at an angle of roughly 45 degrees and make a clean cut of about 5 to 10 millimetres deep. Different loaf shapes have different scoring patterns that work best.
Use steam for better oven spring
Arina P Habich/Shutterstock
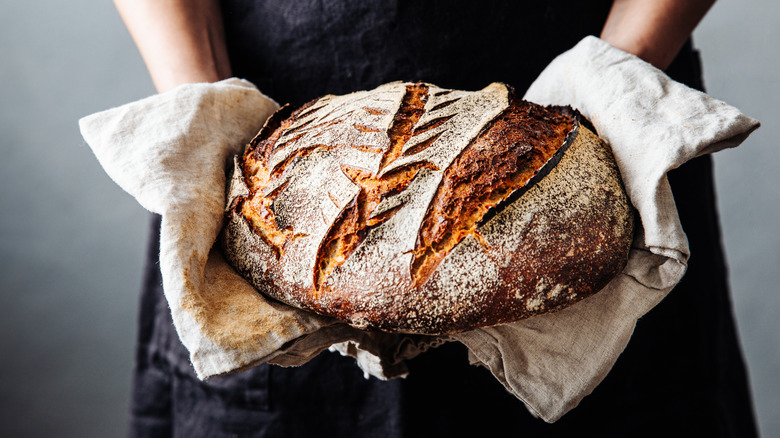
Oven spring is the term used to describe how a loaf rises in the oven. A good oven spring means that it rises a lot, and you should end up with a fairly open crumb and a nice texture that isn't overly dense. Using steam is one easy way of getting more oven spring.
It's important to note how steam affects the crust and crumb of bread. "Steaming methods ... will keep your loaf moist and flexible for maximum rise before the crust sets," says Doug Anderson. Without steam, the crust can set too quickly, so even if the center of the bread wants to expand, it's unable to do so fully because the set crust is stopping it. In turn, this has an impact on the crumb of the loaf because, being unable to expand, it will end up on the dense side.
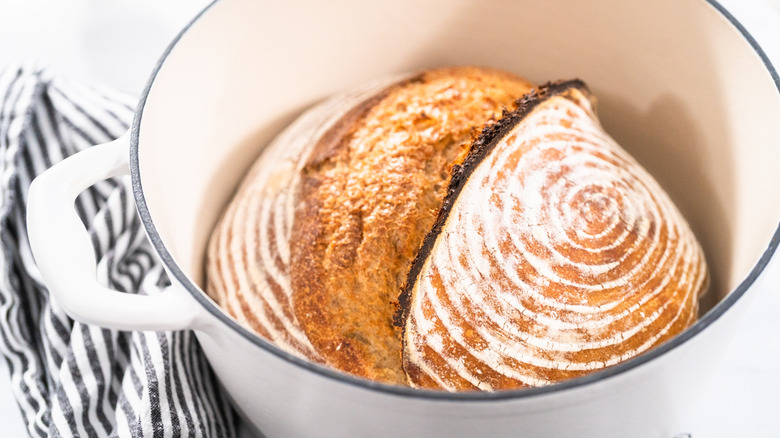
Doug Anderson notes that "a spray bottle, or pan of ice, or an oven with steam injection," are all potential ways to make steam in your oven. However, many home bakers use a Dutch oven, which is what Anja Eckert and Kate Freebairn recommend. "Steam matters, so you do want to keep the lid on or even add some ice cubes before you put the bread in the oven," Eckert advises. For an average-sized loaf, remove the lid after around 40 minutes of baking and then bake with the lid off for a further 20 minutes.

 Arabic
 French
 Spanish
 Portuguese
 Deutsch
 Turkish
 Dutch
Dutch
 Italiano
 Russian
 Romaian
 Portuguese (Brazil)
 Greek
Greek