

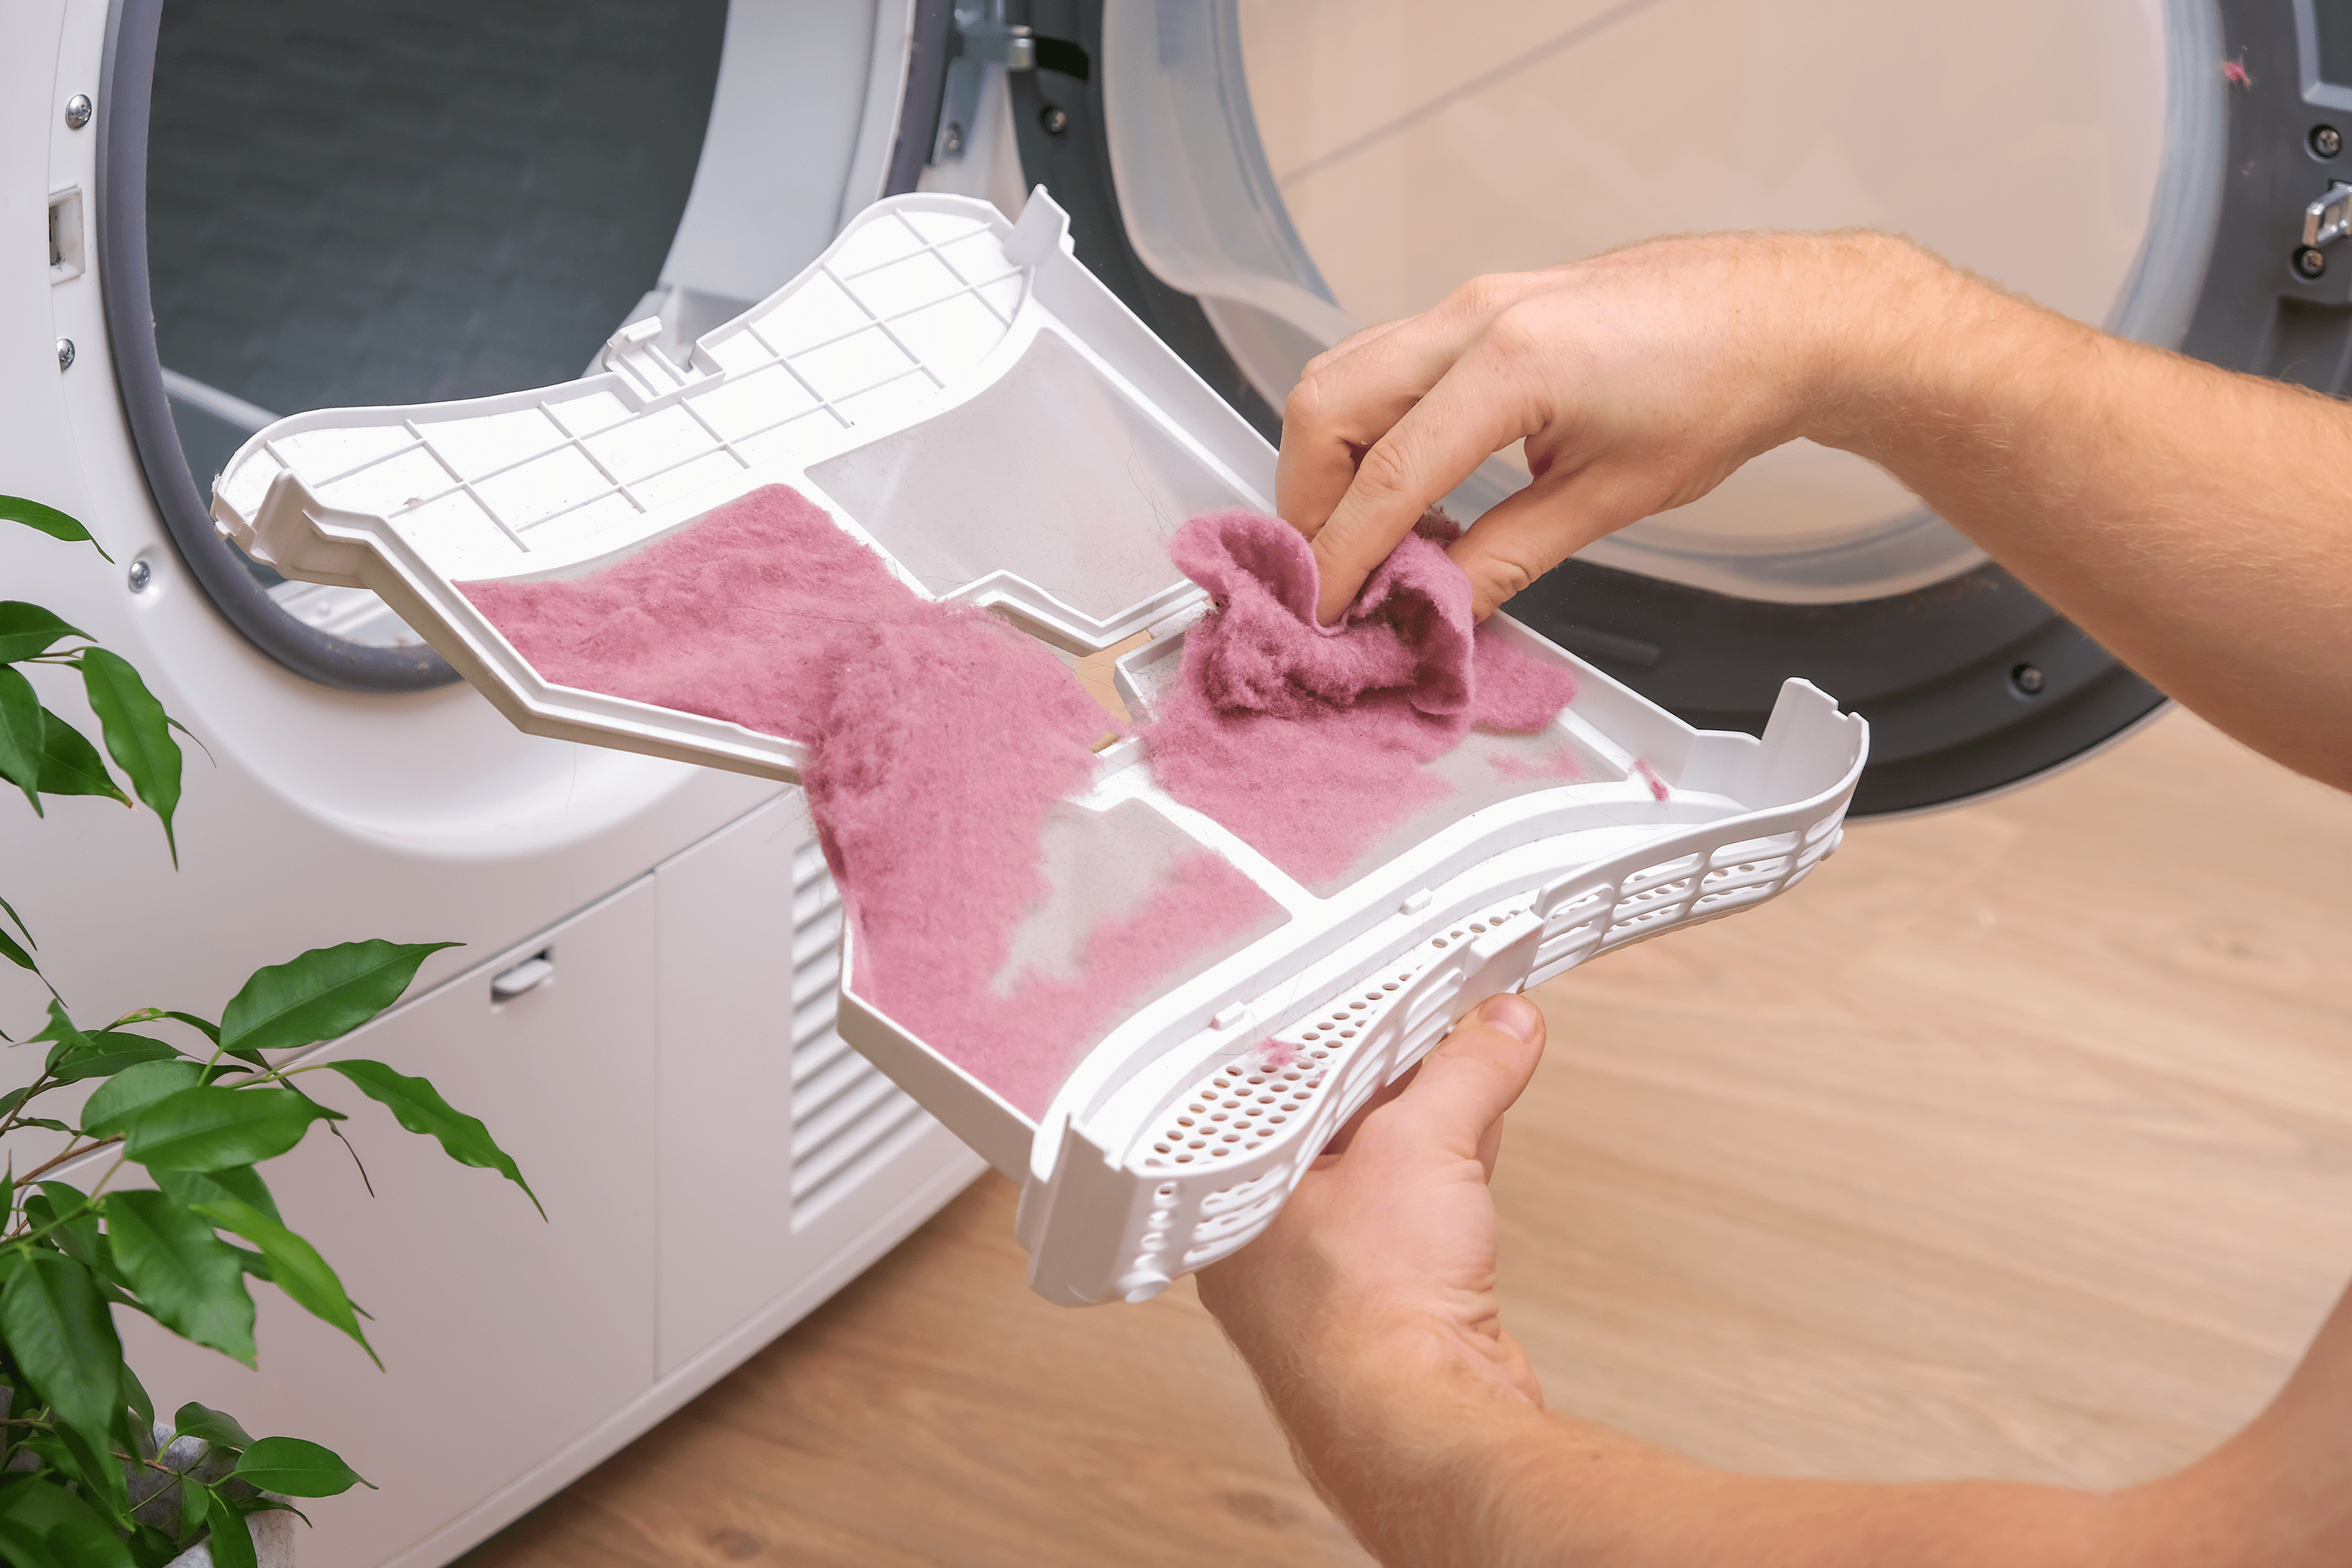
While you’re likely accustomed to cleaning out the lint trap after each dryer cycle, there’s another critical area that needs regular attention—the space just underneath the lint trap. Lint, dust, hair, and other debris can slip past the trap and accumulate in the hidden crevices of your dryer. This buildup not only poses a potential fire hazard but also reduces the appliance’s efficiency.
If you’ve never cleaned under your lint trap, you’re not alone! It’s easy to forget about it—especially if you assume the trap itself is catching everything. However, it’s important to be aware that ignoring this step could put your home at risk. Read on to learn why cleaning under the lint trap is essential, how often you should perform the task, and effective methods for removing the hidden buildup.
By incorporating this simple task into your regular household cleaning routine, you can enhance your dryer’s performance, prevent overheating, and, most importantly, keep your home and its inhabitants safe.
Why You Need to Clean Under the Lint Trap
Until now, you might have thought that cleaning the dryer’s lint trap after each load is sufficient, but lint can be sneaky. Over time, tiny bits of lint can slip past the trap and accumulate in the dryer’s lint housing, exhaust duct, and even deep inside the machine. The problem with this is that lint is flammable. When too much of it accumulates, it has the potential to catch fire due to the high temperatures your dryer generates while it’s running.
According to research by the National Fire Protection Association, 15,970 house fires between 2010 and 2014 were caused by washers and dryers, and almost all (92% to be exact) were caused by dryers. Furthermore, 27% of washer and dryer fires were specifically caused by dust, fiber, and lint.
In addition to being a fire hazard, excessive lint buildup can also decrease your dryer’s performance. As airflow becomes restricted, the appliance must work harder to dry your clothes, resulting in longer drying times, higher energy bills, and unnecessary wear and tear. If you’ve noticed your dryer overheating, taking longer than usual to dry clothes, or producing a burning smell, hidden lint buildup may be the cause.
How Often Should You Clean Under the Lint Trap?
The good news is that the area under the lint trap requires less frequent cleaning than the lint trap itself. While the lint trap should be cleaned after each load (or, at the very least, before you start another one), most people can get away with cleaning under the lint trap roughly every six months. However, if you use your dryer in excess or notice signs of lint buildup, it’s best to tackle it more often than that. If you have a large household and do multiple loads of laundry daily, have pets, or routinely dry linty fabrics like towels or fleece blankets and clothing, aim to clean this area every three to four months.
Another sign that it’s time for a cleaning is if your dryer’s lint trap appears excessively full after just one load. This could indicate that lint is clogging the internal components. Additionally, if your dryer is overheating or struggling to dry clothes in a timely manner, make checking for hidden lint buildup a top priority.
How to Clean Under the Lint Trap
Cleaning under the lint trap is simple and straightforward, but it requires a few tools to ensure you get the job done well. Here’s what you’ll need:
- A vacuum with a hose attachment or crevice tool
- A dryer lint brush or a flexible cleaning tool
- A flashlight to help with visibility
- A screwdriver if you need to remove part of the lint trap housing for deeper cleaning
Step 1: Unplug the Dryer
Before starting, disconnect your dryer from the power source. If you have a gas dryer, also turn off the gas supply. It’s best to play it safe when handling appliances.
Step 2: Take Out the Trap and Vacuum the Housing
Remove the lint trap as you normally would and set it aside. If the lint screen has a lot of buildup, wash it with warm soapy water and let it dry completely before putting it back in. Using the hose or crevice attachment on your vacuum, carefully remove any visible lint from the lint trap housing. A crevice tool is ideal for reaching deeper into the compartment. Be thorough, as lint can build up in corners and generally hard-to-reach spots.
Step 3: Use a Lint Brush for Deeper Cleaning
A long, flexible dryer lint brush is essential for reaching areas your vacuum can’t access. Insert the brush into the lint trap housing and gently twist it to dislodge any trapped lint. Slowly pull the brush out, removing any lint that can cling to it. Repeat this process until the brush comes out clear.
Step 4: Repeat the Vacuum Step
After loosening all the lint with the brush, use the vacuum to remove any remaining debris. This additional step should only take a few seconds, but it gives you peace of mind that the lint housing is completely cleared out.
Step 5: Clean the Dryer Vent and Reassemble
While you're at it, it’s smart to take the opportunity to inspect and clean the dryer vent. First, disconnect the vent hose from the back of the dryer and use a vacuum to remove any lint buildup. A clogged vent restricts airflow, which can cause overheating and increase the risk of fire. It's a good idea to clean the dryer vent every one to two years. Once you’ve completed cleaning out the lint, replace the trap (as long as it’s dry if you washed it), reconnect the dryer to its power source or the gas supply, and test the appliance to make sure it’s working properly.
How to Prevent Future Lint Buildup
Regularly addressing the area under the lint trap is crucial, but there are simple steps you can take in between cleanings to help reduce lint buildup.
Don’t overload the dryer: Overloading can restrict airflow and push excess lint into the machine's hidden crevices. Always adhere to the recommended load sizes to keep your dryer running smoothly.
Reconsider dryer sheets: Although convenient, dryer sheets can leave a residue that clogs the lint trap and contributes to buildup. It’s more economical to use dryer balls, so consider making the switch. If you’d rather stick to sheets, try cleaning the lint screen with warm, soapy water at least once a month to remove residue.
Inspect the lint trap occasionally: If the lint screen is damaged, it may not capture lint effectively, allowing more to escape into the dryer. If that’s the case, replace the screen as soon as possible.