

As a hobby baker, I relish in experimenting with new cookie, cake, pie, quick bread, and muffin recipes. But there’s a level of intricacy and technique in certain bakes that shift them into “always outsource” territory. Items in this file include puff pastry, macarons, croissants, and anything else involving lamination. I’ll leave those to the experts!
While traveling to San Jose this fall, I stumbled upon an Asian-inspired bakery that offers shio pan, also known as sogeum-ppang or salt bread. My phone must have heard me talking about it to the staff, because soon after I landed back home, it dished up recipe how-tos on social media. While watching these demos, I had an a-ha moment that made me think, “Hey, maybe I can do this!” Although salt bread looks somewhat similar to croissants, they’re actually a mash-up of milk bread and yeast bread, with butter in the middle (yes, please!) and no lamination required (double yes!).
With one of these recipe videos cued up, I stepped inside my kitchen to see if I could DIY this trendy recipe.
How to Make Salt Bread
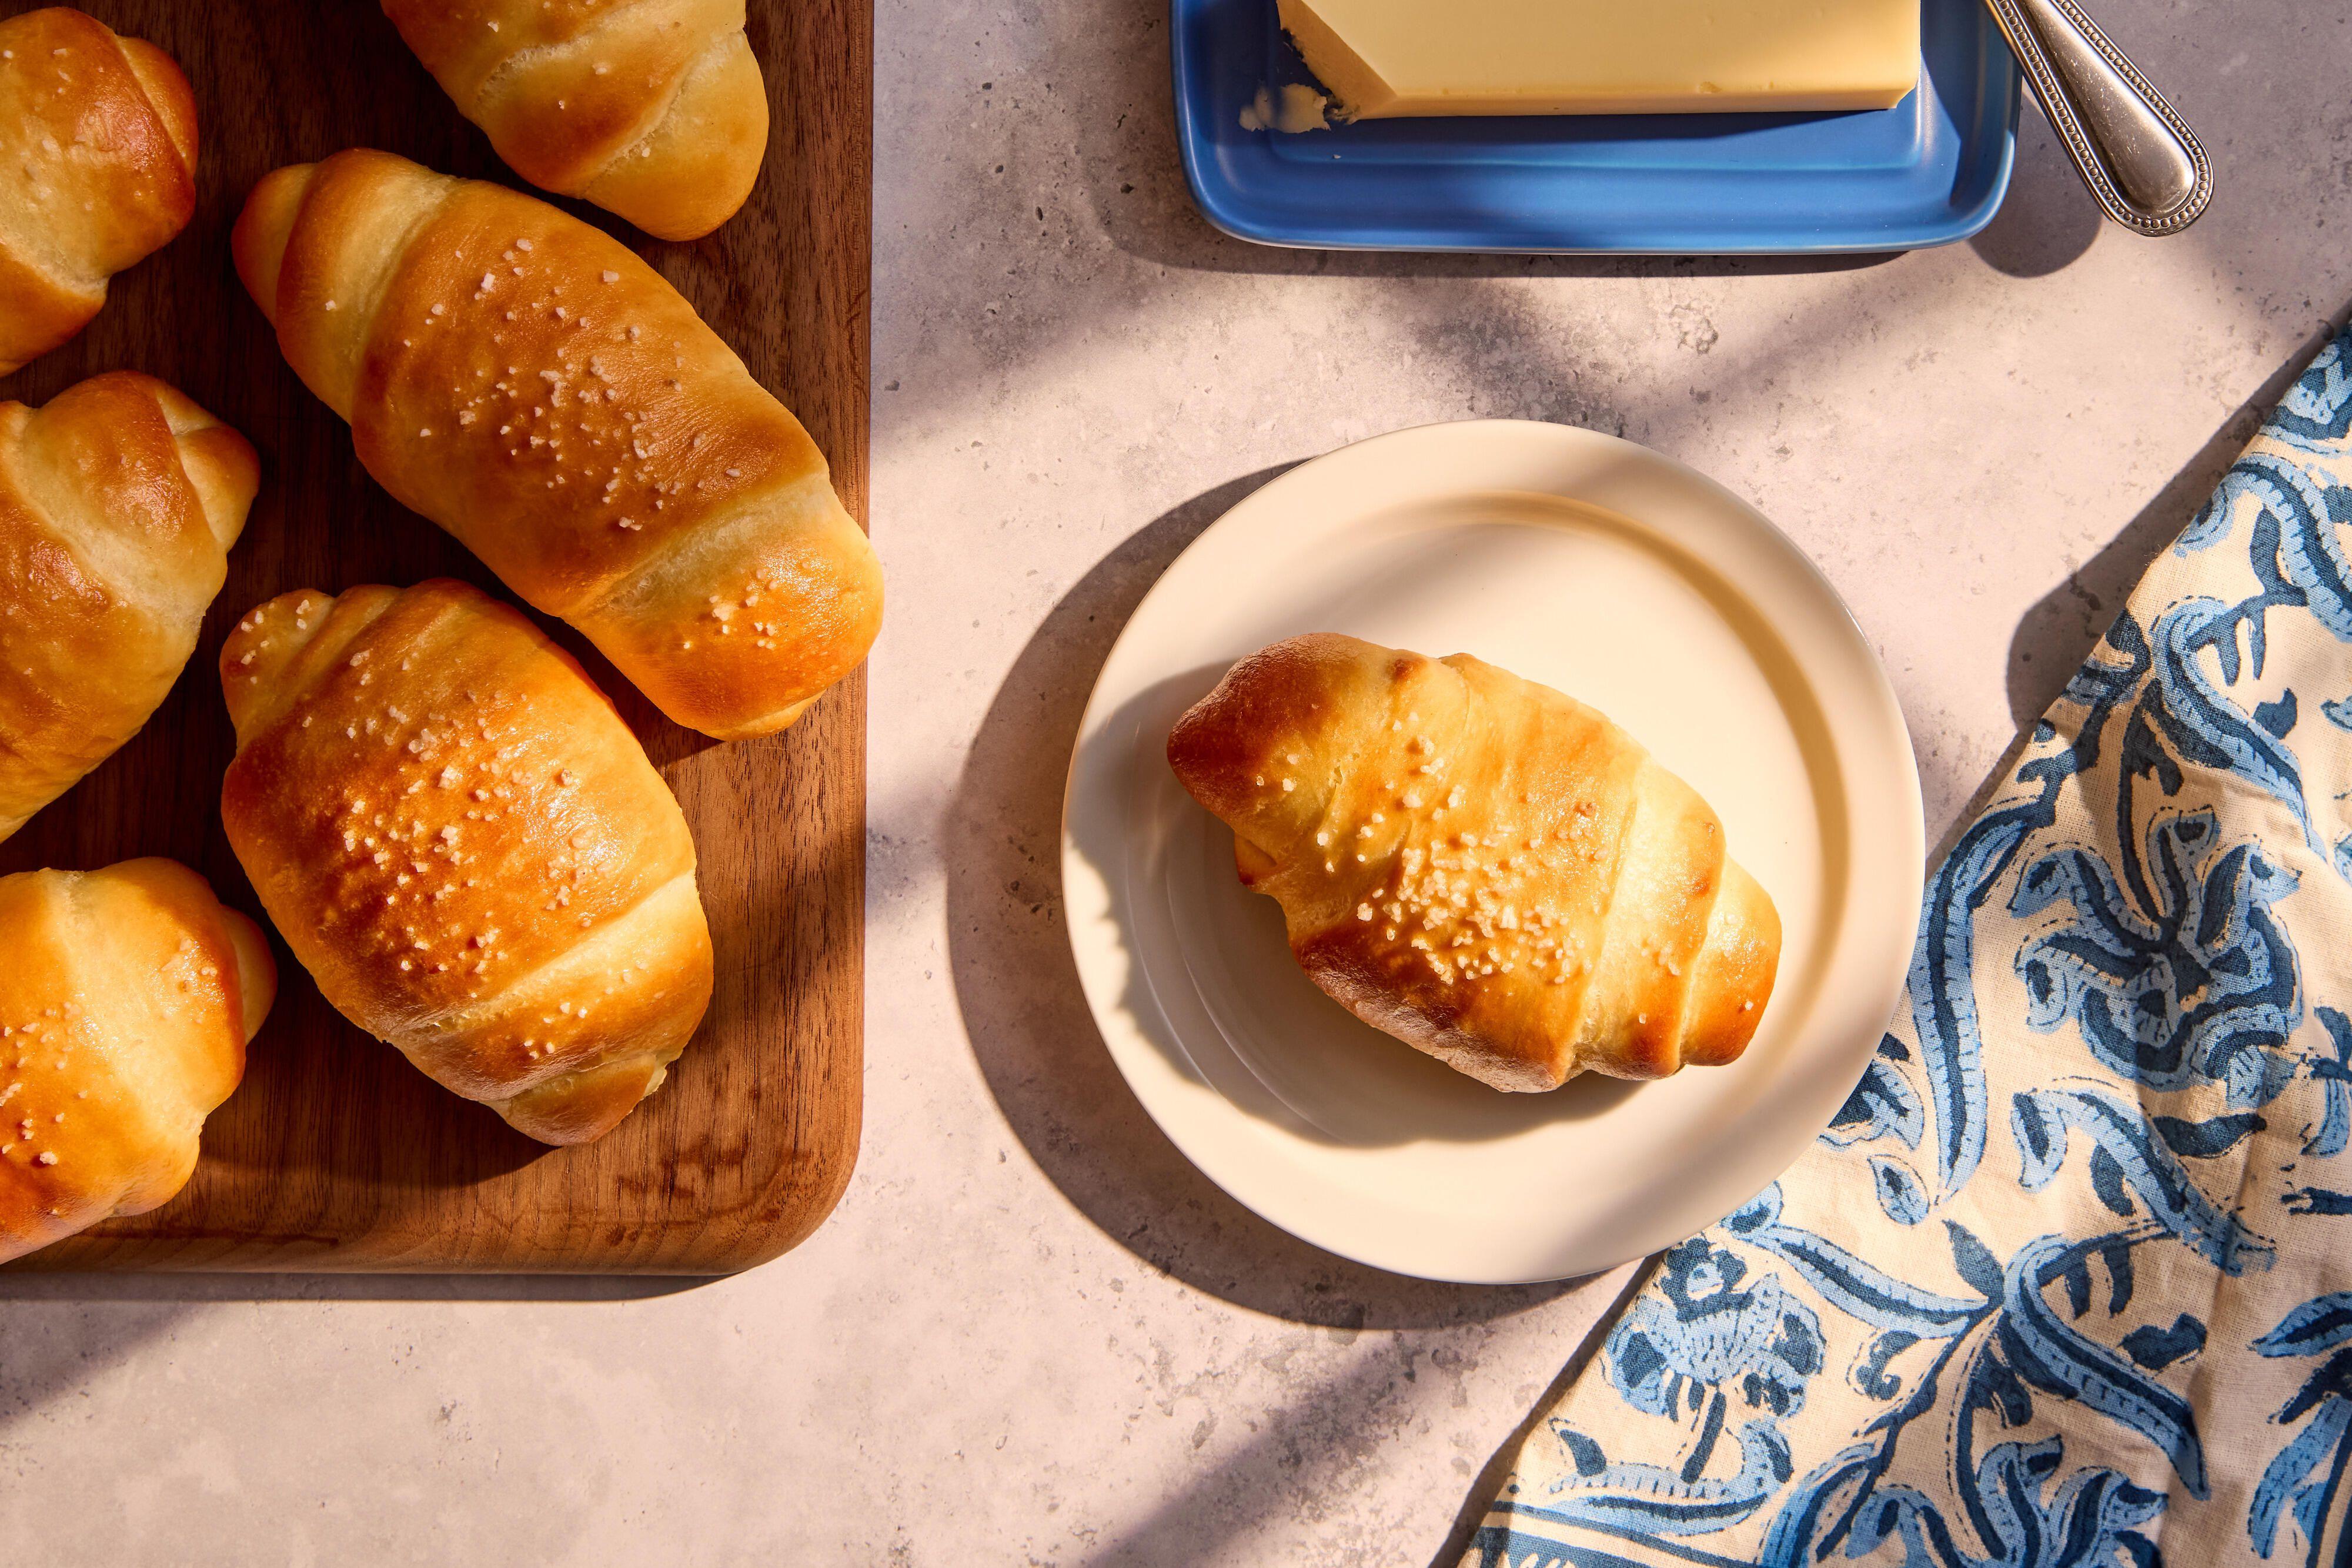
In case you’re unfamiliar, salt bread is a variation of a Japanese milk bread that is ubiquitous lately at Korean- and Asian-inspired bakeries here in the states and around the world. A soft, fluffy interior—stuffed with a healthy pat of butter—is concealed underneath a shatteringly-crispy, salt-dusted exterior. Since the process calls for spritzing the rolls with water before their shift in the oven, the rolls come out of the oven rocking a showy, irresistible crunchy, and glossy coating. No wonder salt bread is going viral on TikTok and Instagram lately.
Here’s how to make salt bread, from scratch:
- Mix and knead the dough. Start with the tangzhong; a cooked mixture of flour and water that helps foster the soft, moist texture. In a small saucepan over low heat, mix flour and water. Whisk in milk and salt. In a bowl of a stand mixer fitted with a dough hook, whisk together bread flour, sugar, and instant dried yeast. Pour in the saucepan contents. Use a spatula to mix until the dough is shaggy, then turn the mixer onto low to knead for 1 minute, or until the dough begins to come together. With the mixer on low, drop in pieces of cubed softened butter. Flip the speed to medium, and allow the dough to mix for about 15 minutes, or until it is stretchy but doesn’t break when you pull a portion away from the mass.
- Set aside for the first rise. Using clean hands, shape the dough into a ball and place it in a large greased bowl. Let this rise in a warm spot until it doubles in size.
- Portion and rest the dough. Divide the dough into 8 pieces and roll into balls. Cover with plastic wrap and allow these to rest for 20 minutes. Shape into long, thin triangles (imagine a tall carrot), then cover with the plastic wrap again and let rest for 20 minutes more. The resting time makes it easier to work with and stretch the dough.
- Roll then set aside for the second rise. Pop a piece of cold butter on top of the wide end of each triangle, then roll the dough into a crescent. Place the formed rolls onto a parchment-lined baking sheet and allow them to rise for 1 hour.
- Bake and enjoy. Once the dough is puffy, spray the rolls with water, then sprinkle with flaky salt. Bake at 375°F for 15 minutes, turn the pan, then bake for 4 minutes more. Let the rolls cool for 10 minutes, then devour.
Tips for Making Homemade Salt Bread
As you can see, these are not your typical warm-and-serve rolls. Making salt bread takes some time and effort, however, it’s not an extremely complicated process. If you decide to join me and try to master how to make salt bread, too, here are a few pointers that might come in handy.
- Buy butter like a pro. Since butter plays such a prominent role in these rolls (sorry!), we recommend seeking out sticks that are a step above store brand. After a thorough market taste test, we found that Land O Lakes Salted Butter Quarters and Vital Farms Salted Grass-Fed Butter tend to be crowd-pleasers and easy to work with.
- Opt for bread flour. Compared to all-purpose, bread flour has a slightly higher protein content, which results in the formation of more gluten. In turn, this supports the structure and chew of the bread. If you can’t find bread flour or don’t want to make a special trip, you can swap in AP—just keep in mind the texture might be slightly different. If you like, you can mimic bread flour-like results by doctoring up each cup of all-purpose flour with 1 or 2 tablespoons of vital wheat gluten (available at many supermarkets and online).
- Consider another sweetener. If you’d prefer an alternative to granulated sugar, it’s A-OK to trade in honey or maple syrup.
- Trust the process. The dough will probably look and feel very sticky initially. As long as you use cold water and butter and mix for long enough, it will come together. It may be tempting to add more flour, but try to resist the urge, as this will throw off the ratios.
- Knead by hand if necessary. No stand mixer? Mix the dough into its shaggy glory in a bowl, then turn it out onto a flour-dusted surface. Knead by hand by pressing the dough away with the heel of your hand, then folding the back end of the dough in half over the front. Turn the ball 90 degrees and repeat the process, and knead until the dough comes together, about 15 to 20 minutes. True, this is quite a bit of work, but you get a bonus arm workout!
- Get steamy. Not only does water help the salt stick, but it also generates steam that leads to the glossy coat. If you don’t happen to have a spray bottle handy, simply place a large pan with an inch of water on the bottom rack of your oven to generate steam as it preheats.
The Verdict on the Viral Salt Bread Recipe
My entire home smelled like a bakery while the rolls baked; tempting me until I was able to try the viral salt bread I’d lusted over online. To keep myself busy, I got to work tidying up my kitchen. Honestly, this wasn’t a small task after all of the mixing, kneading, rolling, and shaping. Still, all of that effort somehow made the finished product even sweeter. Similar to how I lift my chin up high each time I pass the gallery wall I hung by myself (rather than outsourcing that to another handyperson), the amount of pride I felt as I tore into my first warm salt bread roll was substantial. The resulting rolls didn’t disappoint.
When I broke through the crust (making my kitchen a bit of a mess again…worth it!), I found a steamy, soft center that reminded me of milk breads I’ve enjoyed in the past. As for the outside, the salty, crunchy “sprinkles” on top did a delightful job of balancing out the hint of sweetness in the bread. I agree with another home baker who reviewed this recipe by saying, “I can't imagine how they could be any better 10/10.”
If I’m being honest, I don’t think I’ll carve out time to make salt bread from scratch more than once or twice a year. Although they’re not much more of a hassle than a standard yeast bread, salt bread is a bit more of labor of love. I’ll probably dust off this recipe so I can share salt bread as part of a holiday menu. As I savored my way through the batch, I learned that salt bread is a lovely companion for a mug of tea or coffee as well as a cozy bowl of soup and salads. Now, one final roll remains in an airtight container on my counter. I plan to stuff it with ham, cheese, and mustard before griddling them in honey for a twist on our popular Flat Croissant Sandwiches. Any which way you serve it, salt bread is smashing.