

Key Takeaways
- Melon pits make growing nutrient-hungry plants like melons and squash easier by enriching soil with buried food scraps and yard waste.
- This space-saving planting method reduces the need for watering and fertilizers, and is especially helpful for poor or compacted soil.
- Dig your own melon pit in a few simple steps so you can maximize garden productivity with minimal effort.
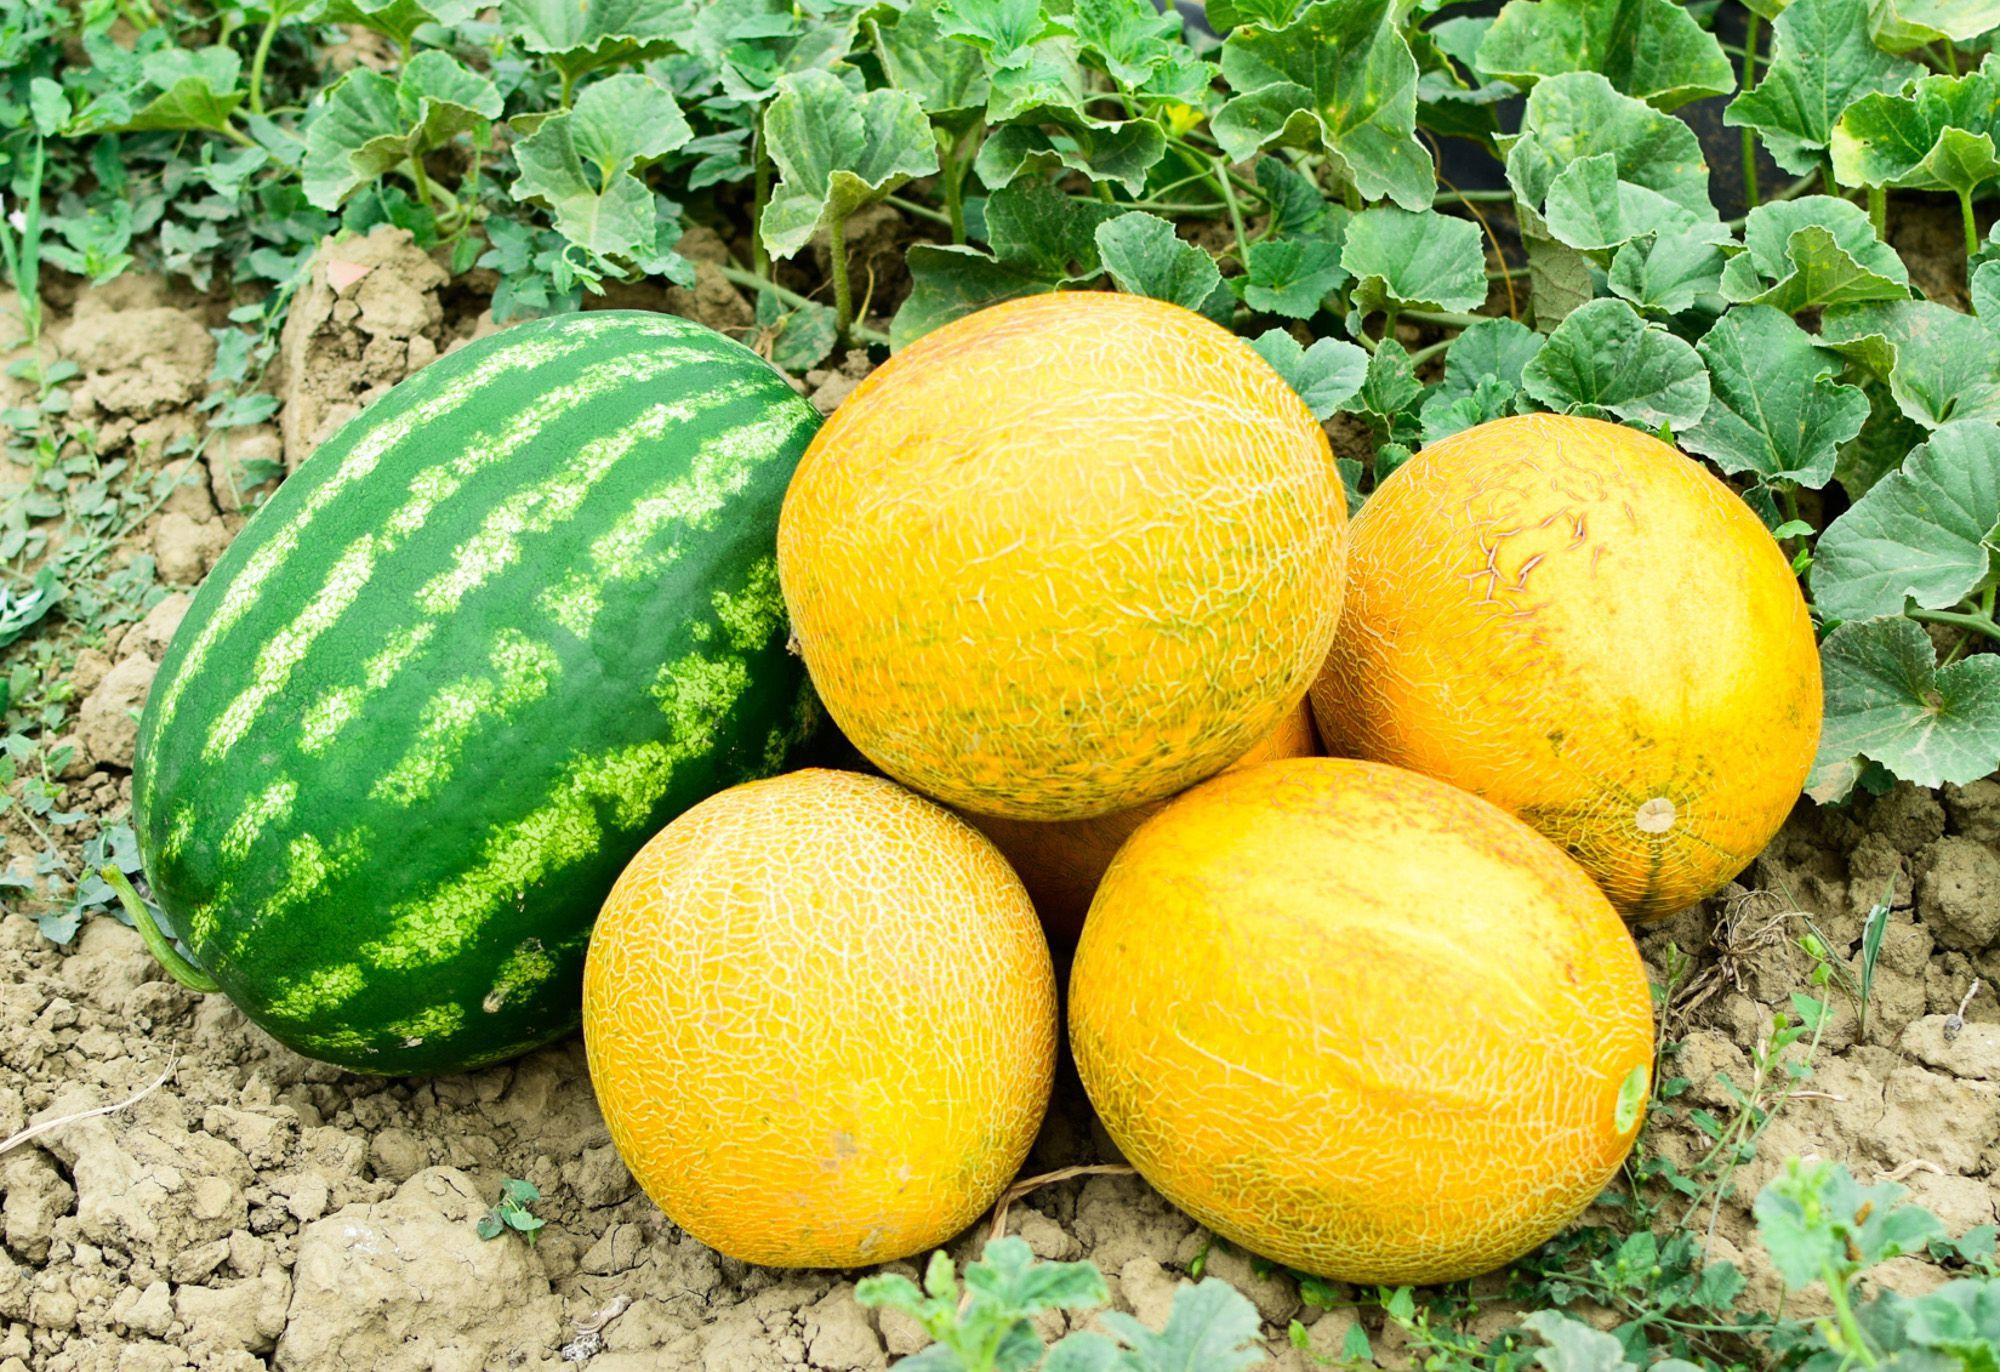
Melons, squash, and pumpkins are heavy feeders and fast-growing plants that can quickly overwhelm small gardens with their sprawling vines and high nutrient needs. But if you grow these demanding plants in a simple DIY melon pit, you can save a lot of space in your garden and make your crops easier to keep. Here are the basics of why melon pits are worth making, and a simple step-by-step tutorial on creating your own melon pit and planting it with melons and other crops you love.
What Is a Melon Pit?
Based on a planting method first developed by American indigenous tribes, melon pits are made by burying food and yard waste in the soil and then planting crops on top. The idea is simple: As the organic matter breaks down, it enriches the soil, feeds plants, and provides other benefits to gardens.
Although melon pits are commonly used for growing melons, they also support a wide variety of other heavy feeding crops, like squash, corn, sunflowers, pumpkins, and even fruit trees. This planting technique shares many similarities with hugelkultur, trench composting, and lasagna gardening. It is especially popular among permaculture enthusiasts and organic growers who want to grow plants without synthetic fertilizers.
Benefits of Melon Pits
Melon pits are quick and easy to make, and they offer a ton of benefits to gardens. Not only are they a great way to repurpose kitchen and yard waste, but melon pits also:
- Improve poor soil. Melon pits enhance soil drainage, and add nutrients back into the soil. This is particularly beneficial if you’re struggling with nutrient-poor, rocky, or overly compacted soil.
- Save space. If you don’t have room for raised beds, try installing a melon pit or two. Melon pits function in much the same way as raised beds, but they take up less space.
- Reduce watering and fertilizer needs. Melon pits naturally improve water retention and provide a slow release of nutrients straight to plant roots. This means you won’t need to water your plants as often if you grow them in melon pits—you may not need to fertilize them at all.
Related
How to Create a Melon Pit
All you need to create a melon pit is a shovel, some food scraps and yard waste, and about 30 minutes. Most melon pits are big enough for two to three melon plants. If you want to grow more melons or other crops, feel free to expand the size of your melon pit or create multiple “pits” throughout your garden.
1. Choose a Suitable Location
Choose a location that receives enough sun for the plants you’d like to grow. Melons and most other food crops are full-sun plants that require at least 6 to 8 hours of direct light per day to be productive. Leafy greens will also grow in areas with lower light. Melons and pumpkins are large, trailing plants, so make sure there’s enough space in the area for the vines to spread out.
You can place a melon pit even in areas with poor soil because you will be amending the soil when you create your melon pit.
2. Dig a Hole
Remove any grass and weeds in the area. Then dig a hole about 2 to 3 feet deep and about 1 foot deep.
3. Add Organic Matter
Gather up any organic matter that you have available: sticks, twigs, autumn leaves, grass clippings, livestock manure, kitchen scraps, and other food waste. Any materials that are safe to add to a compost bin are fair game. Avoid meat, bones, dairy, pet waste from cats and dogs, and plant debris that contains herbicides, or weeds that have gone to seed.
Similar to filling a raised bed, add coarse materials like sticks and twigs to the base of the pit, and finer materials towards the top.
4. Fill in with Soil
When you’re done, your melon pit should be filled most of the way up with organic matter with just a few inches of empty space at the top of the pit. Fill it with the soil you excavated from the hole, and heap any remaining soil up above the hole to form a planting mound. If your soil was poor to begin with, you may want to work some compost into the excavated soil. Remove any rocks and bits of weed roots that might still be in the soil.
5. Water
After constructing your melon pit, water the area thoroughly and deeply. This will fill in any air pockets in the melon pit and help the organic matter start to settle and break down.
6. Plant
You can plant melon pits as soon as you make them, or wait a few weeks to give the organic matter time to start decomposing.
For melons of any type, plant about 3 to 4 melon seeds per 1-foot wide pit and then thin out all but the strongest 1 or 2 seedlings when the plants are about 4 inches tall. For other crops, such as pumpkins, follow the planting and spacing directions on your seed packets.
If you have started the seeds indoors, plant the seedlings directly in the melon pit after hardening them off. Follow the spacing directions for the specific variety.
7. Care for Your Plants
Plants grown in melon pits generally won’t need as much water or fertilizer as plants grown in the garden, but they should still be watered regularly while they’re establishing and whenever the top 1 to 2 inches of soil feels dry. Light feeders, such as leafy greens, may not need any fertilizer when grown in melon pits; however, melons and other heavy feeders usually require light applications of supplemental fertilizer throughout the growing season. Follow the fertilization recommendations for watermelon or for the type of melon you are growing.
Once your seedlings sprout, add mulch around your plants to keep weeds down. If you’re growing vining plants, such as pumpkins, also apply mulch or layers of cardboard in a wider, 6-foot circle around your pits to keep weeds from tangling around the vines of your plants as they grow.
For melon pits, follow the same golden rule of crop rotation as for all other garden beds: Never plant crops of the same family in the same location two years in a row to avoid plant diseases and pests that overwinter in the soil. If you don't have another location to put a melon pit, the next year, remove the entire mound and the soil from the hole and refill it with fresh materials.