

Steamers are trusty tools that keep clothes and other household fabrics fresh, wrinkle-free, and sanitized. Whether it’s a clothes steamer or a handheld cleaning steamer, the process of heating and expelling water can cause a buildup of minerals and calcium deposits. These minerals can clog the nozzle and affect the steamer’s performance and lifespan. If your device is sputtering a lot more water or taking much longer to remove wrinkles, it’s time to give it an all-important clean inside and out. Here is a step-by-step guide for cleaning a steamer.
Preparation for Cleaning a Steamer
Before jumping in, gather all the necessary cleaning materials, including a microfiber cloth, distilled water, white vinegar, and toothpicks. Set up your work area near a sink or bathtub, depending on the size of the steamer.
Wear personal protective equipment like a mask or gloves. During the cleaning process, the machine generates high temperatures and produces heated vinegar fumes. While cleaning, keep the room well-ventilated and the steamer’s nozzle pointed away from you.
How to Clean the Exterior of Your Steamer
While cleaning the interior of your steamer is vital to its functionality, cleaning its exterior is just as important.
1. Unplug the Steamer
If the steamer has just been in use, turn it off and unplug it. Wait for it to cool down before cleaning it. Empty the water tank.
2. Wipe the Outside of the Steamer
Take a microfiber cloth and run it under warm water. Wring it out and wipe down the exterior of the steamer, getting into all the crevices. For extremely dirty exteriors, disassemble the steamer to clean each part individually.
This step is the same for handheld and freestanding steamers; only the latter might have more surface area to wipe. If there is tough grime buildup that warm water alone isn’t removing, dip the microfiber cloth in white vinegar and scrub the stained area.
3. Flush Out the Hose (on Freestanding Steamers)
If your steamer has a hose attachment, disconnect it and flush out any debris or dirt by running it under a sink or bath faucet. For stubborn issues, use an outdoor garden hose for added water pressure.
4. Dry the Steamer
Let the exterior of the steamer air-dry or dry it with a fresh microfiber cloth. If the steamer is disassembled, reassemble it and reattach the hose and nozzle when dry.
Related
How to Clean the Interior of Your Steamer
Follow these simple cleaning steps and your steamer will be working as good as new in no time.
1. Unplug and Empty the Steamer
Unplug the steamer and wait for it to cool down if it has been used recently. Pour any leftover water in the steamer’s tank down the drain.
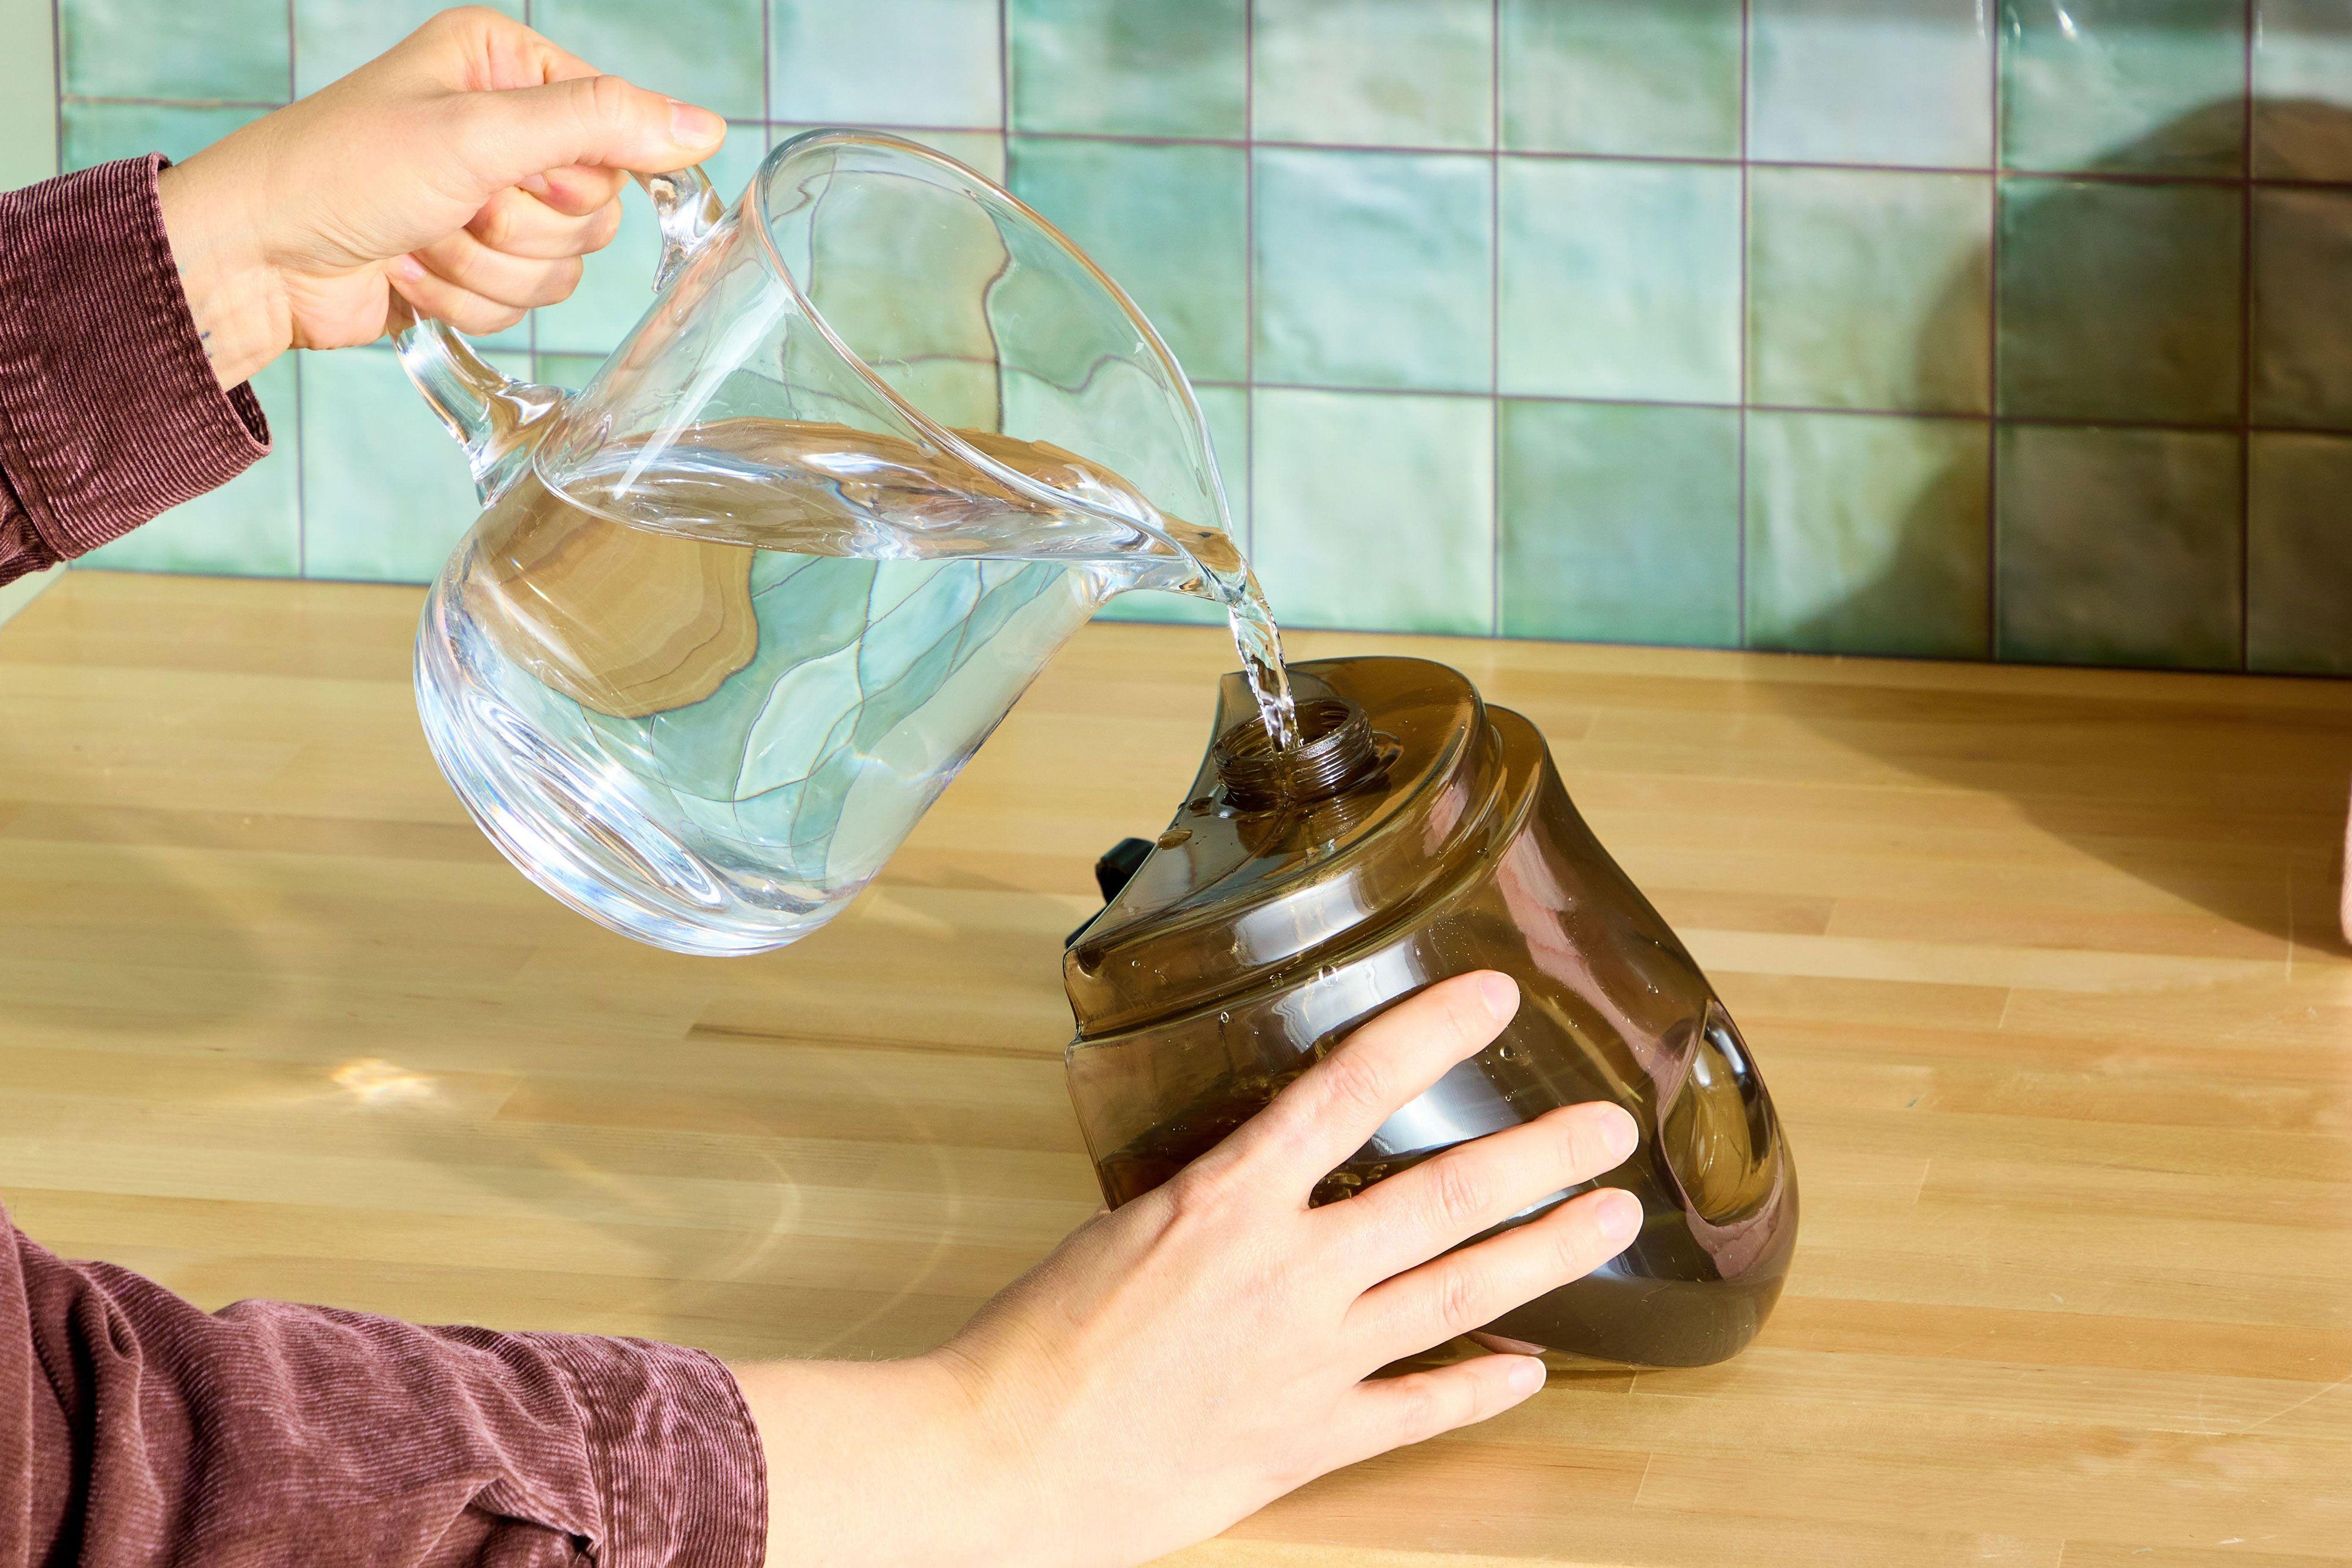
2. Add a Vinegar Solution
Though using distilled water to clean isn’t a strict rule, it is a best practice. Hard water from the tap is high in minerals, so it is best to use distilled water to flush out any mineral buildup inside the steamer. To remove it, combine distilled water with white vinegar to make a solution that breaks down sediments. Avoid apple cider vinegar, which could have the opposite effect.
Prepare the cleaning solution using a 2:1 ratio: two parts distilled water and one part white vinegar. The exact ratio measurements will vary depending on the size of the steamer. Pour the liquids directly into the steamer’s water tank to make the solution. Alternatively, if the steamer needs a serious cleaning to eliminate extensive mineral buildup, use distilled white vinegar alone in the tank.
3. Let the Solution Rest
To remove tough mineral buildup, let the vinegar or mixed solution sit for a while. For small handheld steamers, let the solution sit for 30-60 minutes. For large steamers with big basins, let the solution sit for about three hours. Place the steamer on a flat, steady surface so it doesn’t tip over and spill.
4. Turn on the Steamer
After letting it sit, plug in the steamer and power it up. Turn it to the highest temperature setting. Avoid tipping the steamer and keep the nozzle pointed away from your face. Instead, point it toward the sink or bathtub.
5. Discharge the Vinegar Solution
When the steamer is ready, expel the vinegar or solution into the sink on the highest steam setting. Be careful not to accidentally splash yourself or any nearby surfaces with the hot vinegar. Discharge as much as possible until there is only a small amount left in the tank. Pour any remaining liquid into the sink.
6. Refill the Reservoir with Distilled Water
Unplug the steamer again before refilling the tank with distilled water. This step will flush out any lingering vinegar.
7. Discharge the Distilled Water
Turn the steamer to the highest setting. Expel all the distilled water into the sink to remove any traces of vinegar.
8. Cool and Disassemble the Steamer
Turn off the steamer and let it cool. Check that the water tank is empty, then disassemble the steamer. The manufacturer’s website or instruction manual will explain how to disassemble the steamer. Dry the various components with a microfiber cloth or let them air dry.
9. Inspect the Parts
While drying, inspect the parts for any cracks or clogs. If there is any damage, replace the part. Cracks might pose the risk of leaks and burns. Use a toothpick to get at any remaining clogs.
10. Reassemble the Steamer
Once all the parts are dry and inspected, reassemble the steamer.
How to Maintain Your Steamer
Regular maintenance and proper storage are key to prolonging the life of your steamer. If you frequently use a steamer, wipe down the outside regularly and check for mineral deposits. Steamers used daily should be cleaned once a month. If it’s only used occasionally or every three to four months, clean it after each use.
Consider using distilled water to steam fabrics and garments if mineral buildup is a persistent problem. Avoid letting the water reservoir run dry when the steamer is in use, and always empty the water tank after you’re done. Store the steamer in a dry, cool location to prevent mold.